
How to Use the New tool Directive in Go 1.24
The release of Go 1.24 introduces the tool directive for Go modules. This simplifies the process of managing tools, such as linters or generators that are widely used in many Go
projects but are not directly used in the codebase. In this blog post, we will explore what the tool directive is, why
it matters, and how to use it effectively.
What Is the tool Directive?
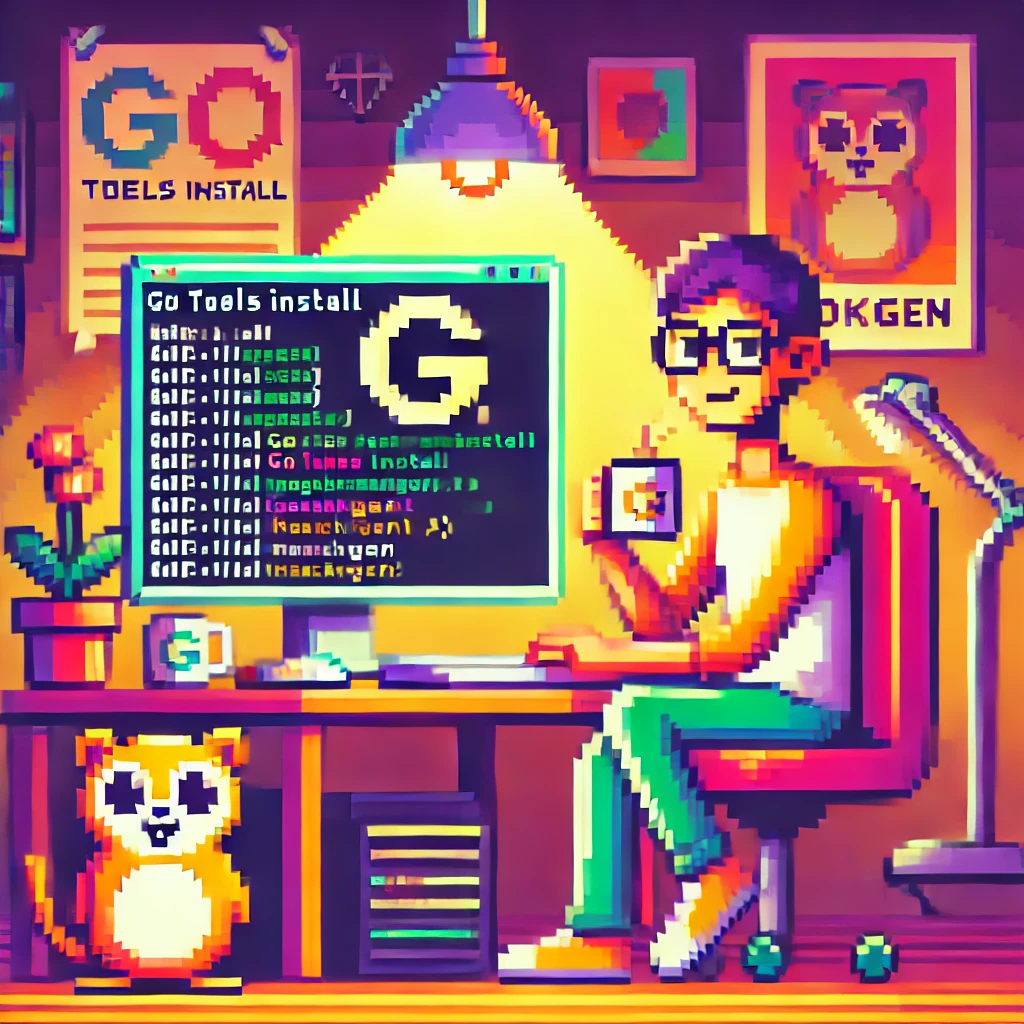
The tool directive allows Gophers to specify dependencies for tools used in your Go project without adding those tools as
regular dependencies. This is particularly useful for tools like golangci-lint, mockgen, or other command-line
utilities that support your development workflow but don’t appear in your import graph.
Previously, developers had to manage such tools using workarounds, such as adding them to a tools.go or a gen.go file or manually
installing them outside of Go modules. The tool directive removes this friction by providing a dedicated way to
declare these dependencies.
Why Use the tool Directive?
Using the new tool directive offers several benefits:
- Separation of Concerns: Tools are clearly distinguished from code dependencies, reducing confusion.
- Version Management: You can lock specific versions of tools, ensuring consistent behavior across environments.
- Simplified Workflow: The Go tooling can install and manage tools automatically based on the
tooldirective, removing the need for custom scripts or manual installation.
How to Add Tools to Your Module
Here’s how you can add a tool dependency using the tool directive:
Step 1: Update Your go.mod File
Simply run
go get -tool github.com/golang/mock/mockgen
In this example github.com/golang/mock/mockgen is the path to the tool.
This will add a tool directive to your go.mod file. It will look something like this:
module example.com/myproject

go 1.24

tool github.com/golang/mock/mockgen
Step 2: Install the Tools
After declaring tools, you can install them using the go mod tidy command:
Step 3: Use the Tools
Once installed, the tools are available for use. For instance:
go tool mockgen -source=internal/service.go -destination=internal/mocks/service_mock.go -package=mocks
You can see which tools are installed by running:
go tool
Best Practices for Using the tool Directive
- Pin Tool Versions: Always specify a version for your tools to ensure consistency. Go will do this for you.
- Document Tool Usage: Include instructions in your project’s README or CONTRIBUTING file on how to install and use the tools.
Reminder..
The tool directive is only available in Go 1.24 and later. Ensure that your contributors use this version or greater.